Welcome!
How to Make a Hand-Printed Bird & Bee Tablecloth Using Linoprint
Create a whimsical hand-printed tablecloth with linocut birds and bees. Full step-by-step guide for printing fabric with bold folk-inspired charm. Let me know if you’d like an alternative version focused more on DIY, home decor, or seasonal styling!
TEXTILE
There’s something deeply satisfying about creating your own textiles – especially when the final result feels charming, personal, and a little bit magical. In this tutorial, I’ll show you how to make a stunning printed tablecloth using linoprinting techniques, featuring flying blue birds, golden bees, and a sky of tiny dotted raindrops. Perfect for summer garden lunches, harvest dinners, or simply adding a touch of handmade joy to your dining space.
The Inspiration
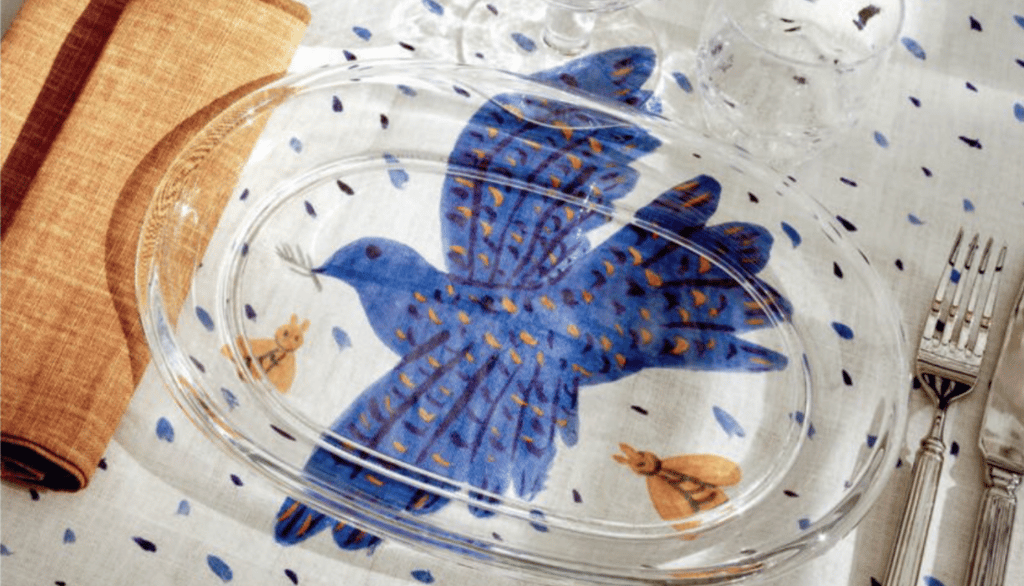
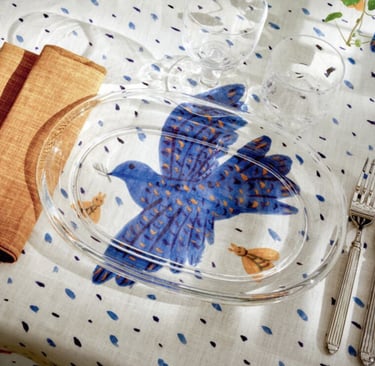
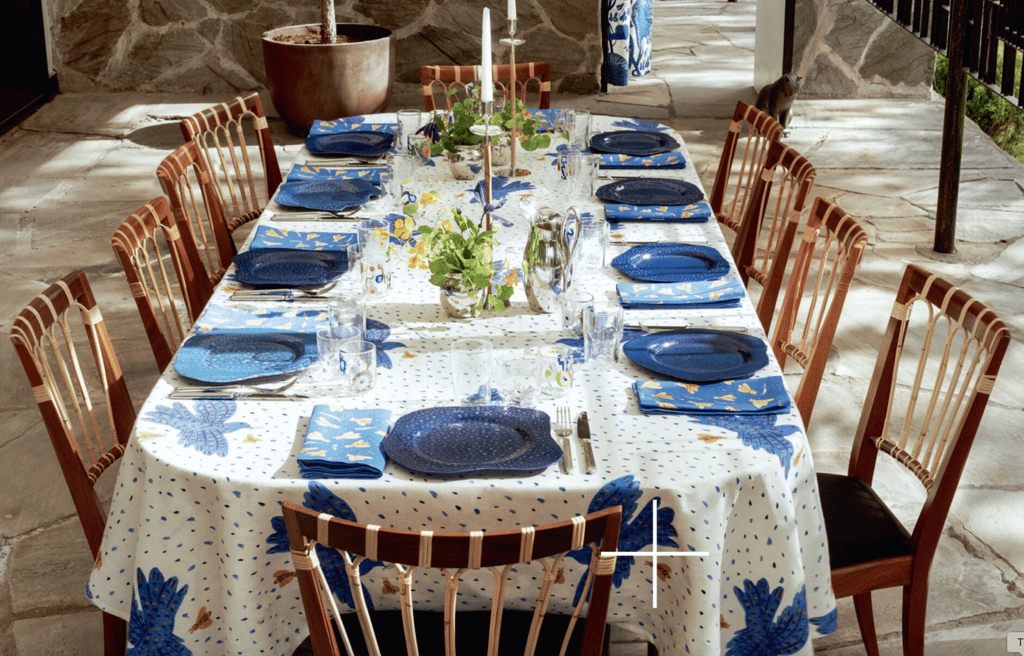
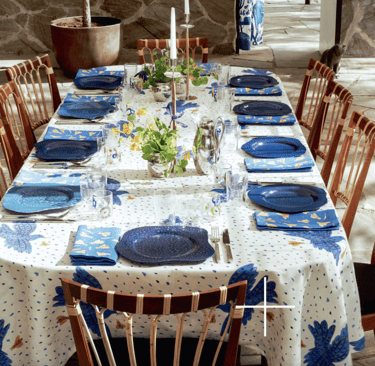
This project was inspired by a beautifully styled table I came across, set with a white cloth printed with bold cobalt-blue birds and tiny ochre bees in a scattered sky of dashes. The look was whimsical and folk-art inspired – like something from a modern fairy tale. I immediately knew it would be perfect to recreate with lino printing. Its from Alekos Fassiano.
What You’ll Need
Tools
Lino blocks (Softcut or easy-carve recommended – A5 or A4 size)
Brayer (ink roller)
Baren or a large spoon (for hand-pressing)
Cutting mat (optional but useful)
Palette or flat surface for rolling ink
Materials
Fabric block printing ink (water-based or oil-based, suitable for fabric)
Colours: cobalt blue, golden yellow/ochre, navy (optional)
Plain white or natural cotton tablecloth
Test fabric squares for practice
Iron and ironing board (for heat-setting the ink)
Paper & pencil for sketching designs
Step-by-Step Guide
1. Design Your Motifs
You’ll need three main stamps:
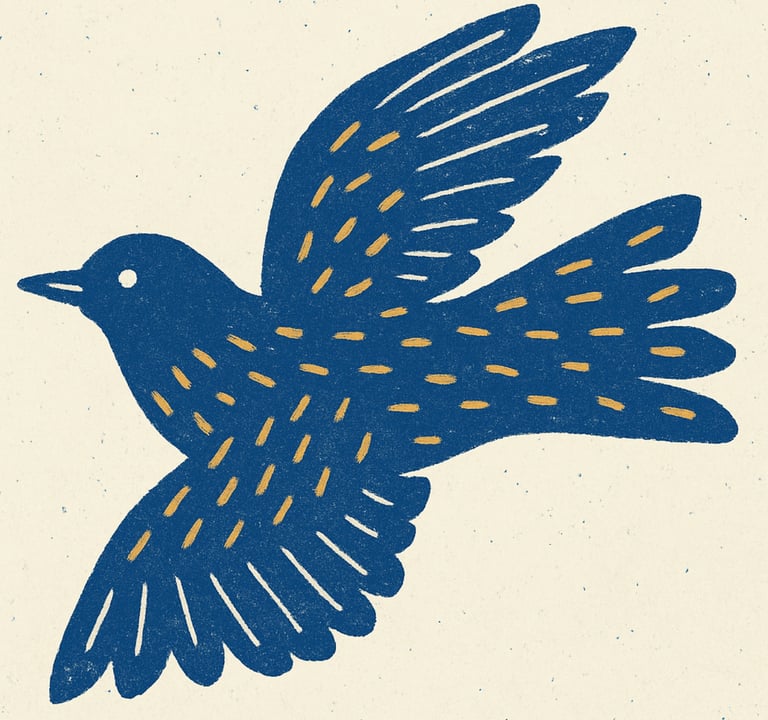
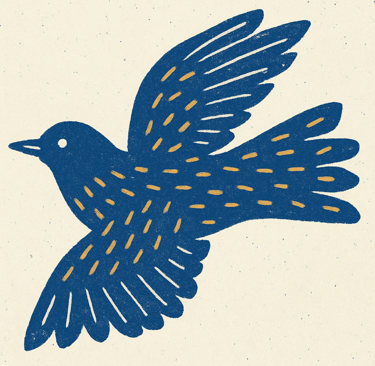
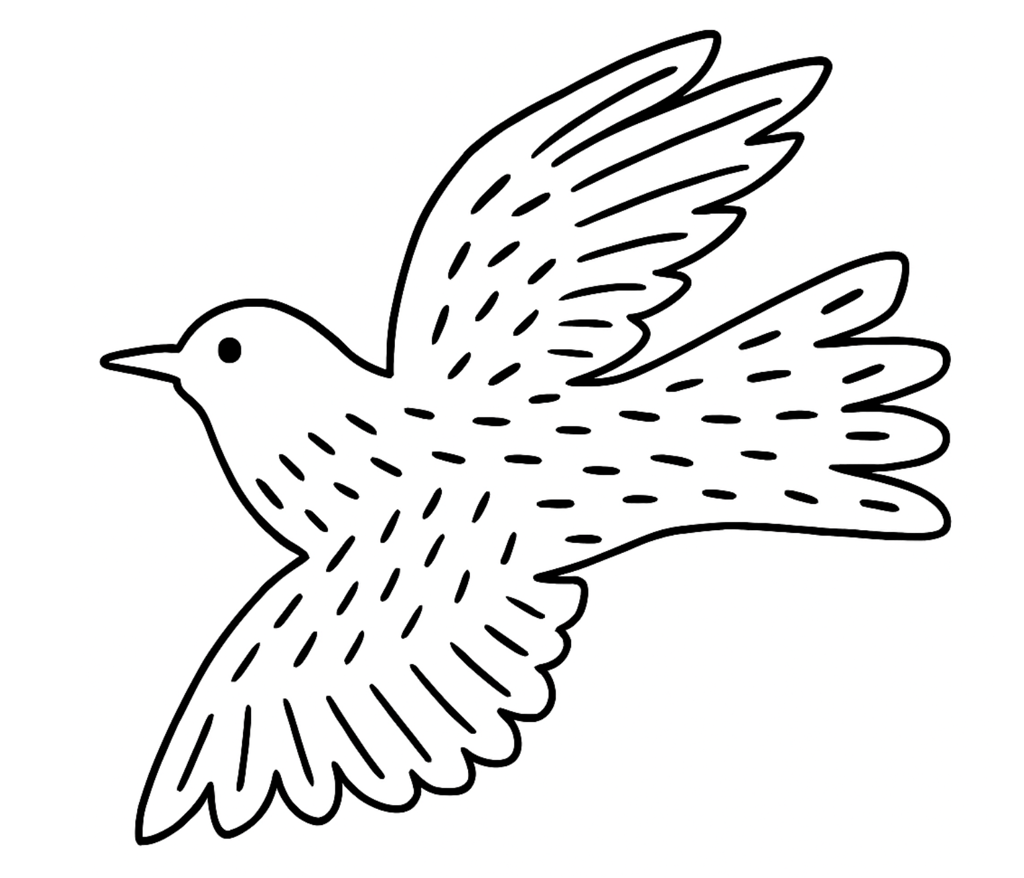
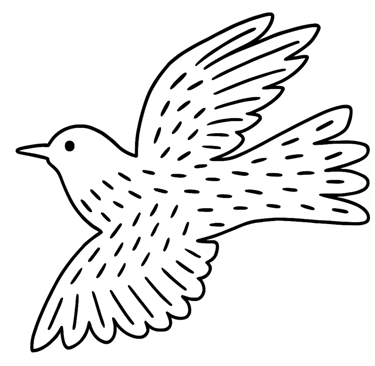
A bird in flight – side profile with fanned tail and open wings
A small bee – simple, stylised, with visible wings and stripes
A background dash pattern – small random strokes to mimic falling rain or seed scatter
Sketch them first. Keep the shapes bold and clear with room to carve details. Transfer the drawings to your lino blocks using tracing paper or by rubbing graphite on the back of the drawing and pressing it onto the lino.
🔥 Tip: Birds look best when printed at a large scale – around 15–20cm wide. Bees can be 4–6cm, and the dash block just 4–5cm square.
2. Carve Your Blocks
Use lino tools to carve away all the negative space – everything you don’t want to print. Start with your bird design, carefully cutting around the wing shapes and feather patterns. Then carve your bee and dash motifs.
Always carve away from your body and test on scrap fabric or paper before printing on the final piece.
3. Plan Your Layout
Lay your tablecloth flat on a large surface. Use chalk or a light pencil to mark:
Where the birds will go – evenly spaced across the cloth
Where the bees will buzz around (they look great scattered)
Fill the remaining space with dash patterns in varying directions
You can choose a symmetrical layout or something more organic and playful.
4. Print Your Fabric
Roll out your chosen ink colour thinly and evenly.
Apply the ink with a brayer to the bird block first.
Flip and press firmly onto the fabric. Use a baren or spoon in circular motions.
Carefully lift the block to reveal your print.
Repeat across the fabric. Then print your bees and dashes with their own colours.
Let the fabric dry flat for at least 24 hours.
5. Heat Set Your Ink
Once the ink is dry, you’ll need to heat set it so it’s washable.
Use an iron on the reverse side of the fabric (or with baking paper on top), pressing for 2–3 minutes over each area.
Follow your ink brand’s specific instructions for heat-setting.
Optional: Add Hand-Painted Details
For extra depth, you can use a small brush and fabric paint to add gold dots or outlines to the birds and bees. This gives the tablecloth a more layered, hand-illustrated effect.
Style It Up
Pair your printed tablecloth with:
Blue or ochre napkins
Glass tumblers and wildflower arrangements
Rustic wooden chairs or vintage cutlery
It makes a stunning setting for brunches, picnics, or garden dinners – and makes a beautiful gift too.
Tips for Success
Always test your stamps on scrap fabric before printing your final piece.
Wash your fabric before printing to remove sizing.
Mistakes can add charm – embrace the handmade look!
Want the Bird Template?
You can download a printable version of the bird motif I used (See below)
Let me know in the comments if you'd like me to share the bee and dash block too!
There’s nothing quite like printing your own fabric. The process is rhythmic and meditative, and the result is something truly your own. I hope this guide inspires you to try your hand at creating a tablecloth that tells its own quiet story – one bird, one bee at a time. 🐝🕊️
Feel free to use my own bird patten below :)