Welcome!

How to Make a Mosaic Garden Tile
Make your own outdoor mosaic garden tile with this easy step-by-step guide using sand, stones, and mortar. Perfect for DIY paths and gifts!
TILES
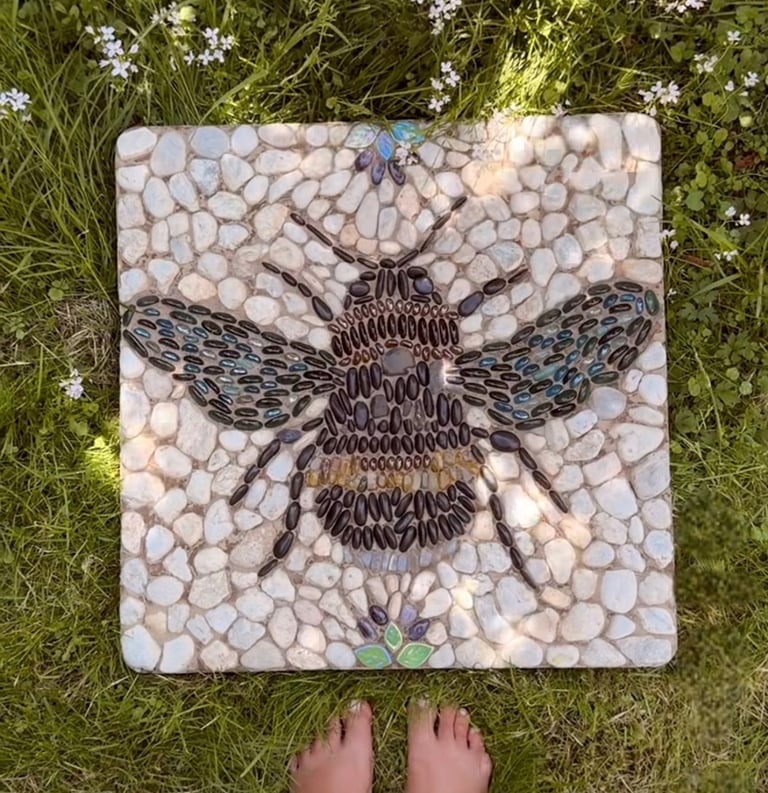
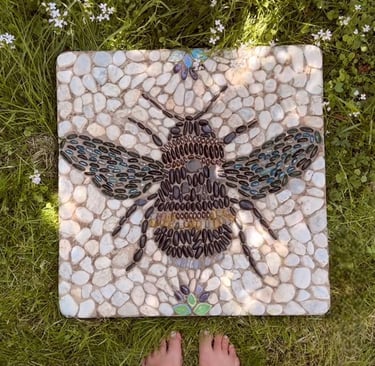
If you've ever wanted to bring a handmade, personal touch to your garden, a DIY mosaic tile is the perfect weekend project. Whether you're inspired by buzzing bees, floral mandalas, or geometric patterns, you can create your own beautiful stepping stone using just a few simple materials — and a little bit of patience.
In this post, I’ll walk you through exactly how to make an outdoor mosaic garden tile, step by step.
What You’ll Need:
Before you start, gather your materials:
A stepping stone mold
(The sturdy black plastic kind works best)Fine Play sand
(This helps you hold the stones in place temporarily.)A variety of pebbles, glass bits, or stones
(Think natural river rocks, beach pebbles, or coloured glass.)Rapid-set mortar mix or exterior-rated cement
Water + a mixing container
Protective gloves + a dust mask
(Cement can irritate your skin and lungs!)Optional tools:
Mold release spray or light cooking oil
A spatula or trowel
A soft sponge or brush for cleaning
Step-by-Step: Make Your Mosaic Garden Tile
1. Prepare Your Mold
Spray your mold with a release agent (or lightly grease it with cooking spray).
Place the mold on a flat, level surface so your tile sets evenly.
2. Add a Layer of Sand
Pour a 1–2 cm layer of moist play sand into the mold.
Use your hands or a ruler to smooth it out.
This acts like a soft bed to hold your pebbles in place while you design.
3. Create Your Design
This part is pure creativity! Press your stones face-down into the sand — this will become the front of your tile.
Start in the centre and work outward if you're creating a radial design (like a flower or bee).
Make sure each piece is pressed snug and level so the cement can grip them properly.
🌼 Tip: Use a spoon or your fingers to gently nestle the stones in without displacing the sand.
4. Mix the Mortar
Follow the instructions on your mortar or cement mix.
You want a thick, smooth consistency — like cake batter.
Wear your gloves and mask during mixing.
5. Pour It In
Slowly pour the mortar over your design, making sure it gets between all the gaps.
Tap the mold sides or give it a light shake to remove any trapped air bubbles.
Use a spatula or piece of scrap wood to level the back (which will be the bottom).
6. Let It Cure
Cover the mold loosely with plastic or a bin lid to keep dust out.
Let it sit undisturbed for 24–48 hours depending on the mix.
Avoid moving it during this time so the design sets properly.
7. Reveal Your Masterpiece!
Once it's cured, gently flip the mold and remove the tile.
Brush off any excess sand and rinse the top with water.
Use a sponge or soft brush to bring out the details.
🧼 Optional: A vinegar-water solution can help clean up stubborn cement haze.
Finishing Touches & Tips
For outdoor durability, make sure you’re using a mortar or concrete suitable for exterior use.
Want colour? Add cement pigment powder to your mortar mix before pouring.
You can make multiple tiles using the same mold — just change up the design each time.
These make amazing garden gifts or personal accents along a path, near a flowerbed, or under a birdbath.
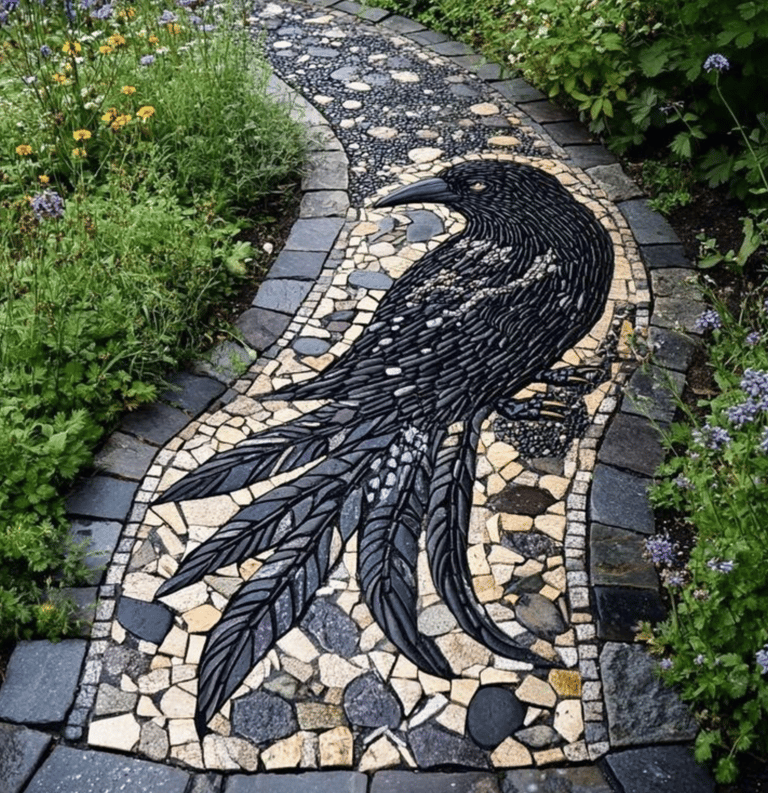
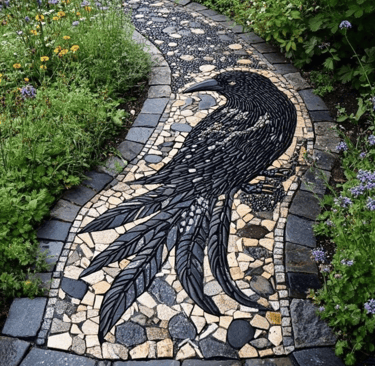
Inspired by Nature
The bee and raven mosaic tile is just one example of what you can create with natural materials and a little imagination. Try leaves, sun motifs, initials, or even a tiny mosaic portrait of your pet — the only limit is your creativity.